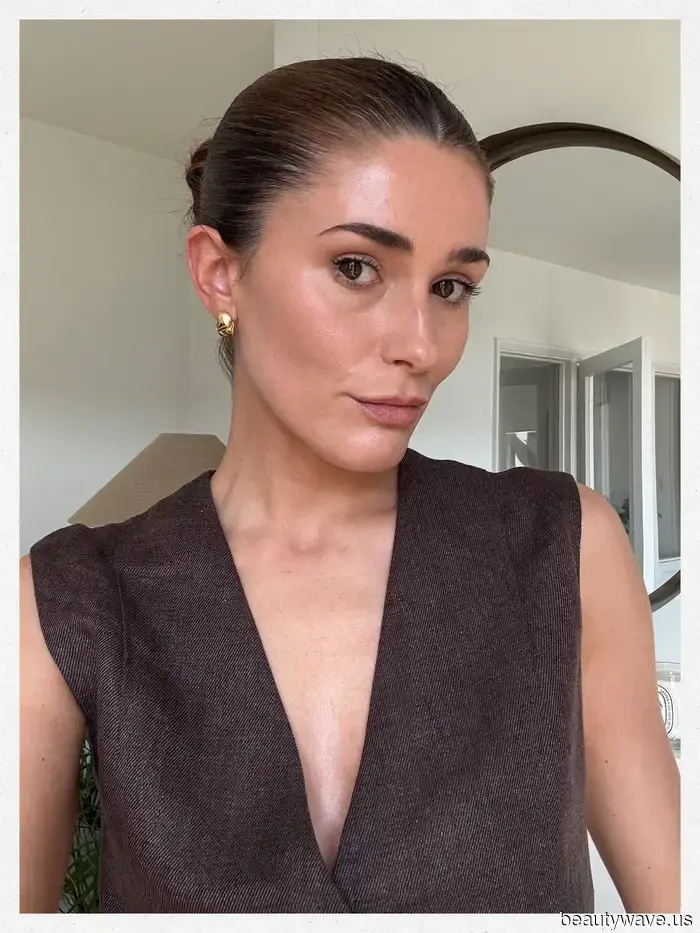
A celebrity hairstylist recently demonstrated the technique for achieving the ideal slicked-back bun.
Welcome to How to Hair. Consider this series your ultimate guide to achieving your best hair yet. Whether you're looking to master a specific hair tool, learn how to style a new updo, or seek some hair inspiration, our beauty editor Eleanor Vousden is here to walk you through everything you need to know, step-by-step, with plenty of insider tips along the way. Let How to Hair be your reliable companion in your quest for fabulous hair every day. If you're curious about how to create a slicked-back bun hairstyle, you're in the right place. This seemingly straightforward updo may appear simple, but it can be challenging without some guidance. Nevertheless, perfecting this hairstyle can be incredibly useful. It serves as a fantastic option for those days when you've skipped washing your hair (again) or when you want a refined and sophisticated look for both daytime and evening. The adaptability of a slicked-back bun is truly remarkable. So, how can we achieve the perfect slicked-back bun? I've enlisted the expertise of Luke Hersheson, celebrity hairstylist and founder of Hershesons, who styles the hair of stars like Victoria Beckham, Sienna Miller, and Iris Law, among others, to share his best tips for creating a flawlessly sleek bun at home. Read on for his step-by-step instructions, top recommendations, and the best products for the sleekest bun you can imagine.
How to Create a Slicked-Back Bun
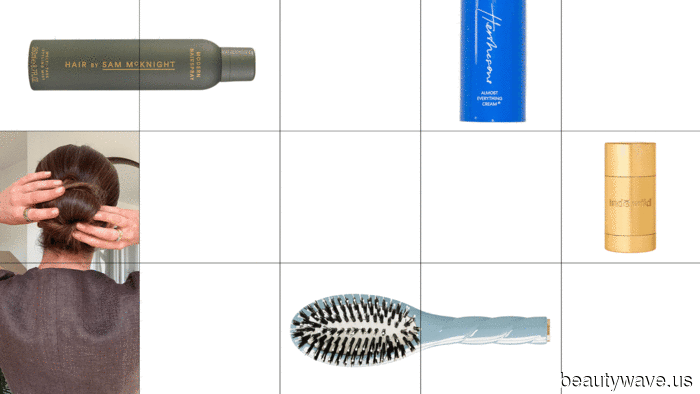
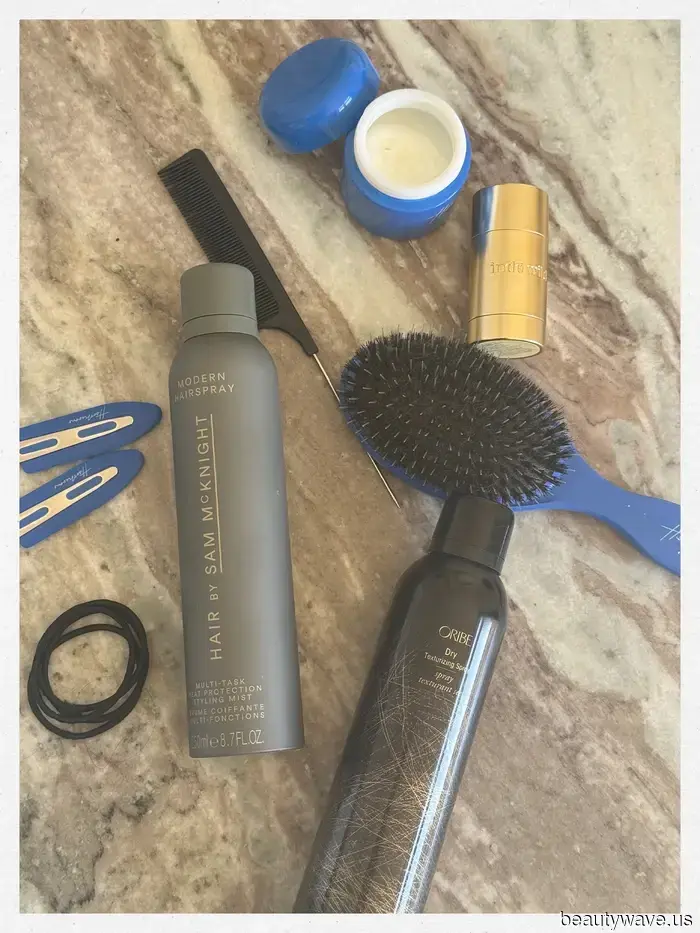
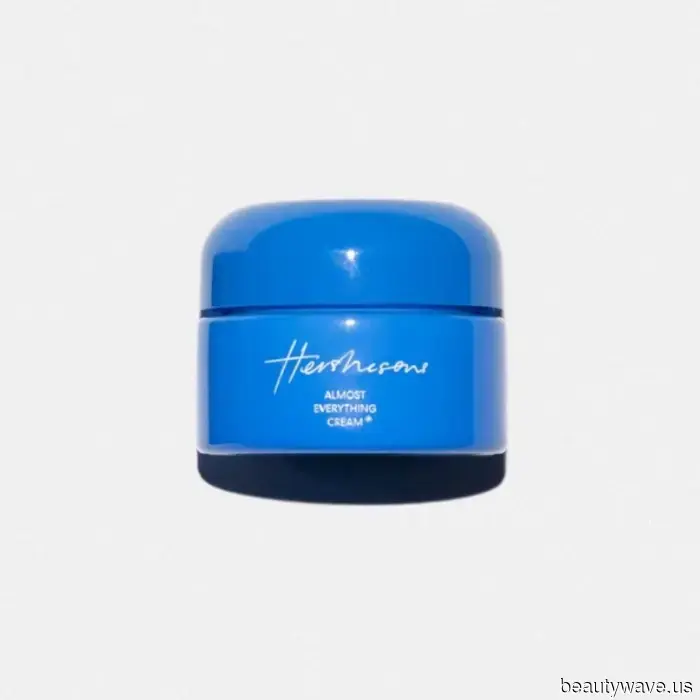
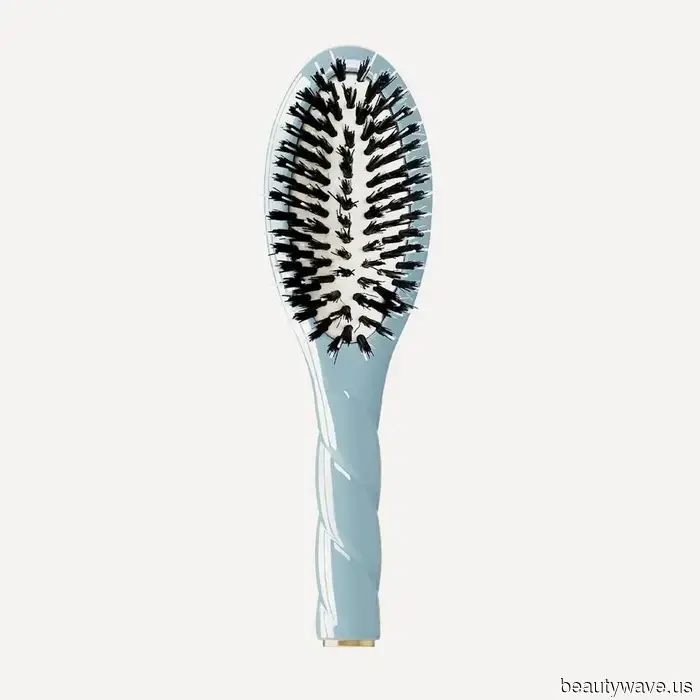
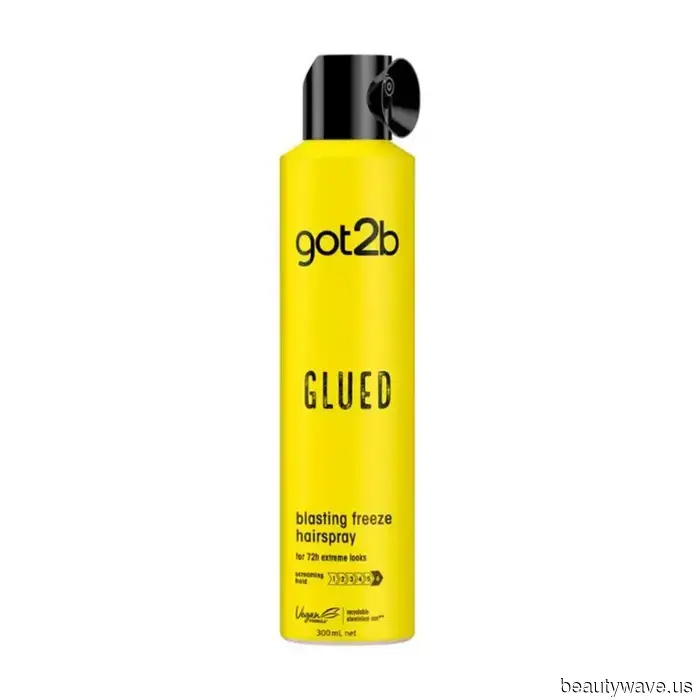
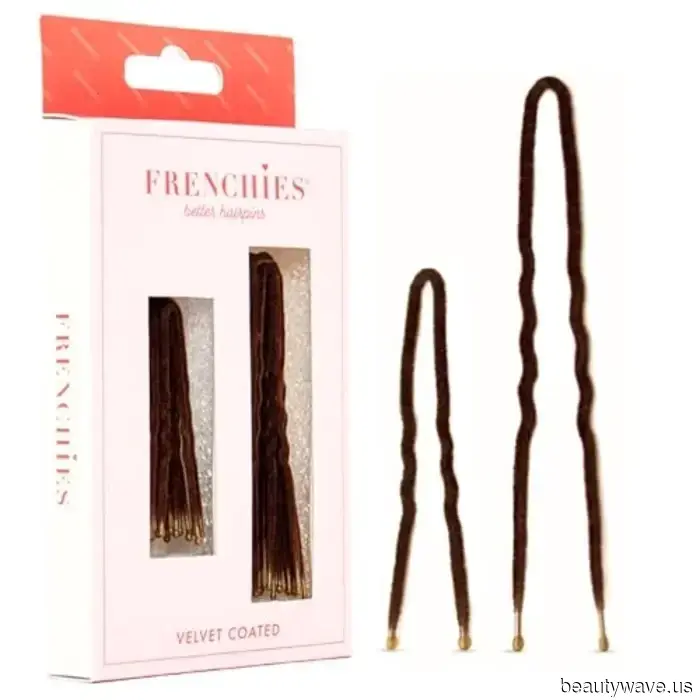
Before starting, there are some tools and products you'll need to ensure a professional finish. "For this look, I recommend a mixed bristle brush, a styling cream like Hershesons Almost Everything Cream (£25), a texture spray, Frenchies hair pins, and a hairspray like Got2b Glued Hairspray (£6)," advises Hersheson. "Second-day hair works best, especially if it's already straight. Natural texture helps the product to grip and maintain the style better than freshly washed hair," he notes, so skip the shampoo; a bit of oil will assist in setting the hair.
1. **Prep Hair**
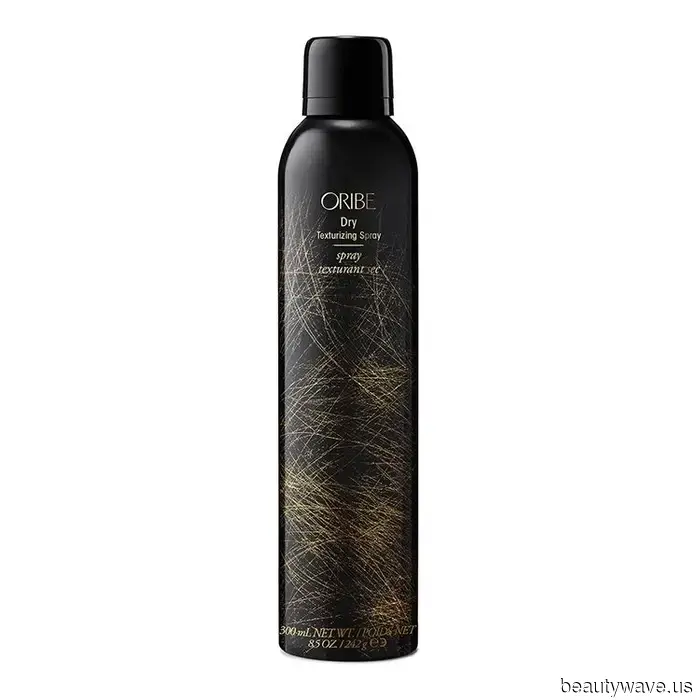
Start with dry hair. If your hair feels slippery or just washed, use some texturizing spray for added grip and hold. I'm applying Oribe's Dry Texturizing Spray (£47) throughout my lengths for extra texture.
2. **Choose Parting**
Now, decide on your parting. "The parting dramatically alters the style's character," says Hersheson. "A no parting look feels more androgynous and editorial, whereas a side parting has a slightly boyish, directional vibe, and a center parting appears softer," he explains. "The position of the bun is also significant; lower buns look more classic and polished, while higher placements feel sportier and lifted."
3. **Section Hair**
If your hair is long or thick, sectioning it into two parts can help achieve a smooth finish and reduce bumps. I've divided my hair into a top section and a bottom section using a tail comb, beginning by slicking back the bottom section into a ponytail before repeating with the top section.
4. **Apply Pomade**
"Hershesons Almost Everything Cream should be generously applied to the lengths and roots," advises Hersheson. This will provide hold and help achieve a sleek and shiny appearance.
5. **Slick Back**
"Using a mixed bristle brush, brush the hair back (or into your chosen parting), maintaining firm tension to eliminate bumps," states Hersheson. Opt for a brush with densely packed boar bristles, as this will assist in tucking all the hairs smoothly. "Continue brushing until the hair lies flat against the head," he adds. "Curly or coily hair may need extra brushing and product to keep it as flat and compact as possible."
6. **Tie Hair**
"Gather the hair into a ponytail at your desired height, ensuring it remains tight and controlled, and secure it with an elastic. Keep the hair evenly balanced so the nape doesn't sag throughout the day," advises Hersheson.
7. **Slick Back Front**
Next, apply the same technique to the front section to join it with the ponytail, using pomade and your brush to smooth everything into place.
8. **Twist Into Bun**
"Twist the ponytail and wrap it around the base to create a bun, securing it with pins," suggests Hersheson.
9. **Smooth Flyaways**
For any shorter layers that don't quite reach or for stubborn flyaways, Hersheson has some solutions. "Shorter pieces require extra control," he explains. "Use more product and apply heat where necessary to ensure these sections stay in place." I recommend using a hair wax stick for more targeted control and to enhance the glossy finish.
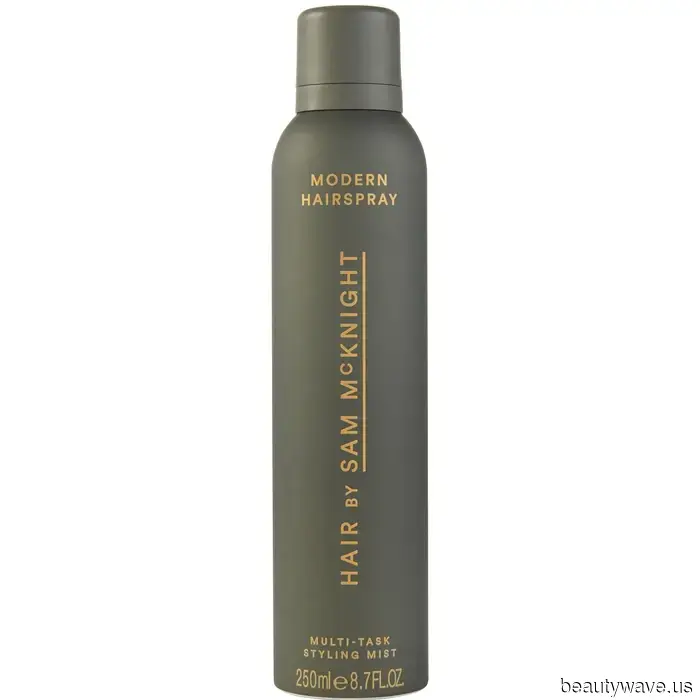
10. **Apply Hairspray**
Finally, finish with hairspray for additional hold and shine
Other articles
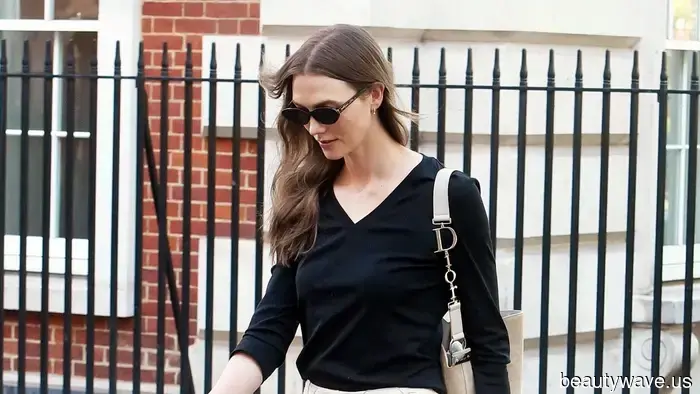
 *Not* a White Blouse—This Timeless Hue Is Far More Elegant and Equally Versatile
White blouses pair nicely with jeans, but those with a keen sense of style recognize that a black blouse appears even more sophisticated.
*Not* a White Blouse—This Timeless Hue Is Far More Elegant and Equally Versatile
White blouses pair nicely with jeans, but those with a keen sense of style recognize that a black blouse appears even more sophisticated.
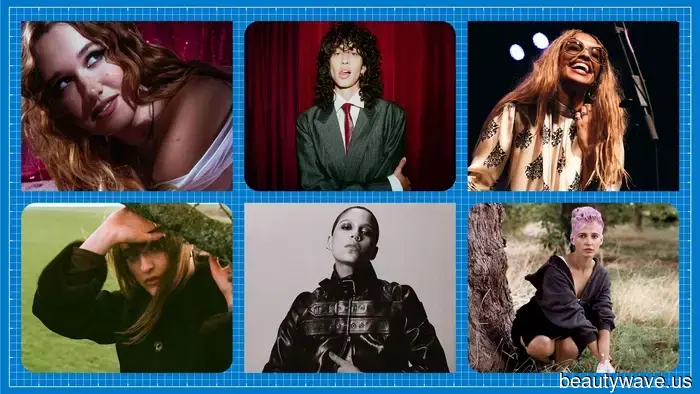 6 Artist Discoveries We're Still Discussing in 2026
In our yearly Ones to Watch in Music feature, we highlight six emerging artists who are creating their own unique journeys.
6 Artist Discoveries We're Still Discussing in 2026
In our yearly Ones to Watch in Music feature, we highlight six emerging artists who are creating their own unique journeys.
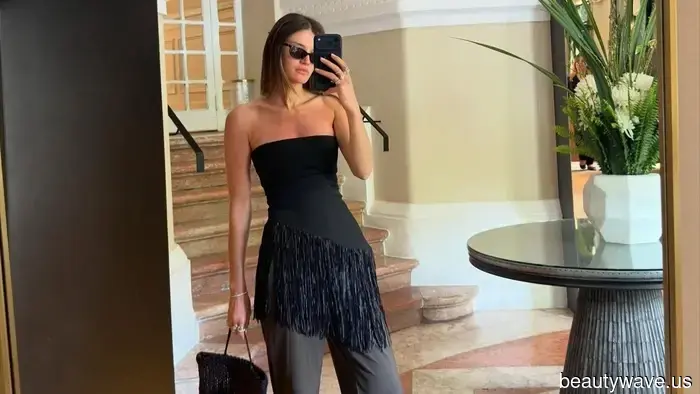
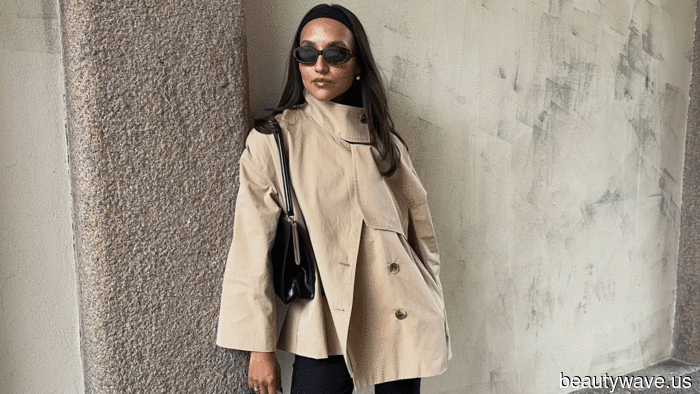 This 3-piece ensemble is eternally chic—everyone I know in New York's fashion scene sports it.
A shopping editor reveals one of her preferred outfit formulas for spring.
This 3-piece ensemble is eternally chic—everyone I know in New York's fashion scene sports it.
A shopping editor reveals one of her preferred outfit formulas for spring.
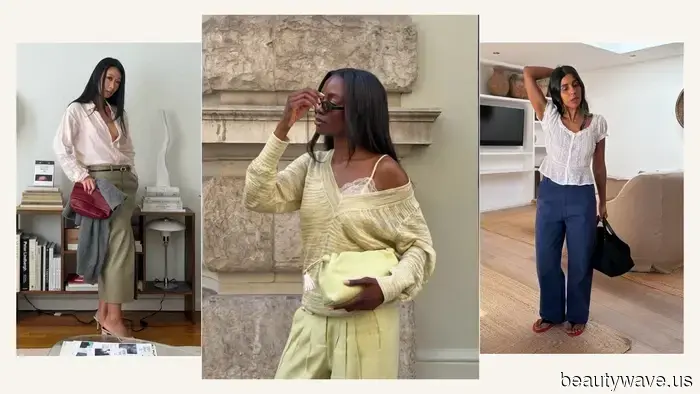 The Trendiest Individuals Are Embracing These 6 Styles This Spring and Summer
These transitional trends from spring to summer are simple to wear in both seasons, featuring everything from charming blouses to derby shoes.
The Trendiest Individuals Are Embracing These 6 Styles This Spring and Summer
These transitional trends from spring to summer are simple to wear in both seasons, featuring everything from charming blouses to derby shoes.
 Summer Has Arrived at Zara—29 Stylish Pieces That I Expect Will Fly Off the Shelves in Just Two Weeks.
We are confident these 29 items will quickly sell out.
Summer Has Arrived at Zara—29 Stylish Pieces That I Expect Will Fly Off the Shelves in Just Two Weeks.
We are confident these 29 items will quickly sell out.
 You'll Prove You're a Fashion Person When You Combine This Skirt and Shoe Trend.
The most stylish dressers are sporting this outfit combination.
You'll Prove You're a Fashion Person When You Combine This Skirt and Shoe Trend.
The most stylish dressers are sporting this outfit combination.
A celebrity hairstylist recently demonstrated the technique for achieving the ideal slicked-back bun.
The advice you should be aware of.