Take Note: "Milky Floral" Nail Art Is the Key Spring Nail Trend to Watch.
Harriet Westmoreland serves as a Who What Wear UK Editor in Residence and is a co-founder of Westmoreland Cosmetics. As a highly sought-after manicurist, she has worked with celebrity clients including Zendaya and Rosie Huntington-Whiteley. Her distinctive minimalist and luxurious manicures have created a global demand, establishing her as a key influencer in nail trends. As a celebrity manicurist, I've noticed a significant interest in micro nail art, particularly during this season. My clients frequently request it in the spring, as it offers a playful yet stylish twist to their regular manicures and aligns with seasonal trends. Together with my clients, I aimed to incorporate an element of fun into their manicures while maintaining elegance and timelessness, and the micro floral design serves this purpose perfectly.
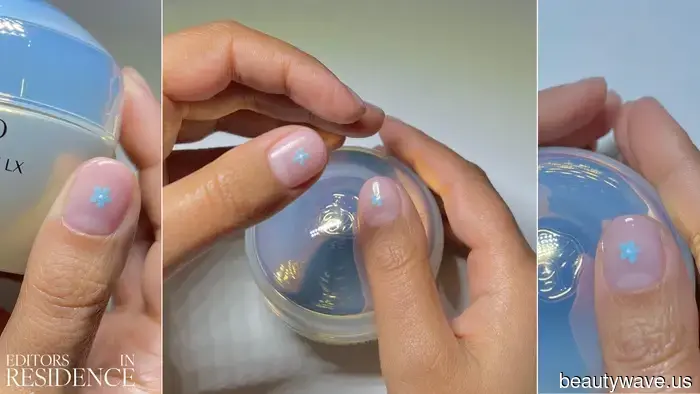
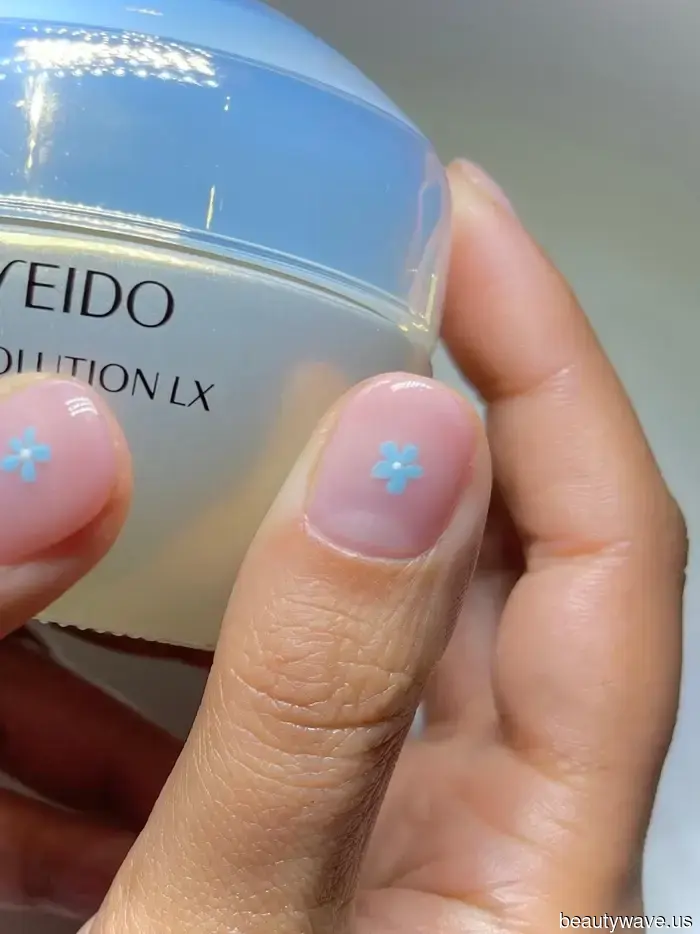
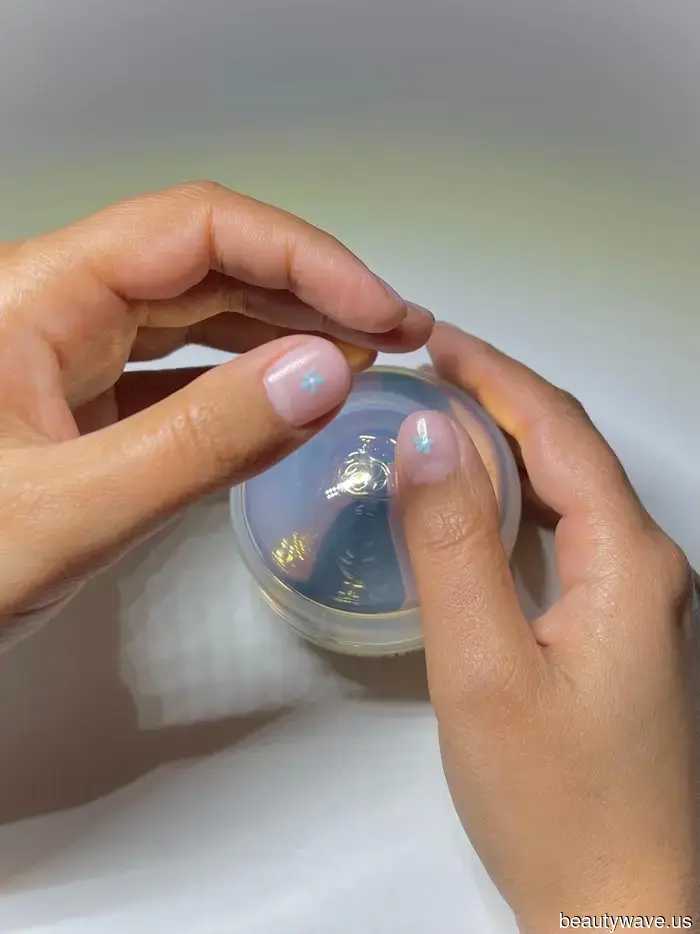
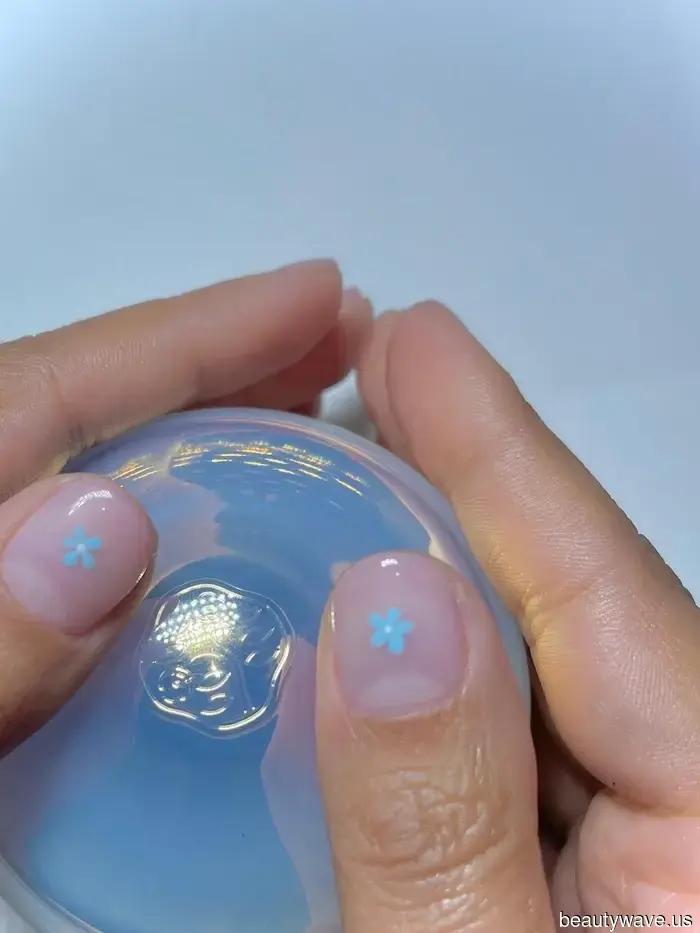
I particularly enjoy creating floral nail art on a milky nail base, often selecting one accent nail for the design. At first sight, it appears to be just a milky manicure, and it’s only upon noticing the accent nail that the subtle hint of color and flower is revealed, which I believe is a significant part of milky nail art's charm.
My approach to nail art is decidedly minimal, favoring micro nail art that is both tiny and detailed. I enjoy working with intricate designs to achieve a classic manicure finish, ensuring that the nail art is quite wearable. That tiny splash of color captures the light beautifully and brings joy every time it’s spotted. Below, I’ll share my recommendations for creating a "milky floral" nail art design along with my favorite products to achieve this look.
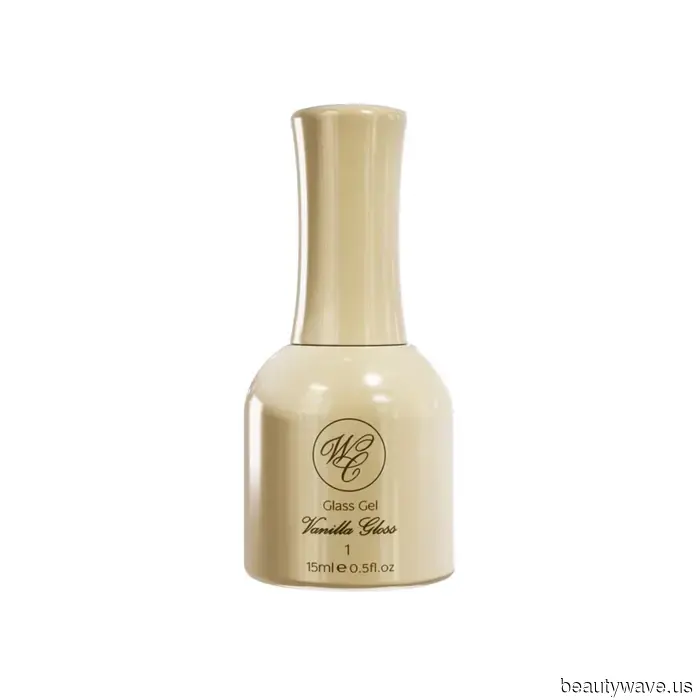
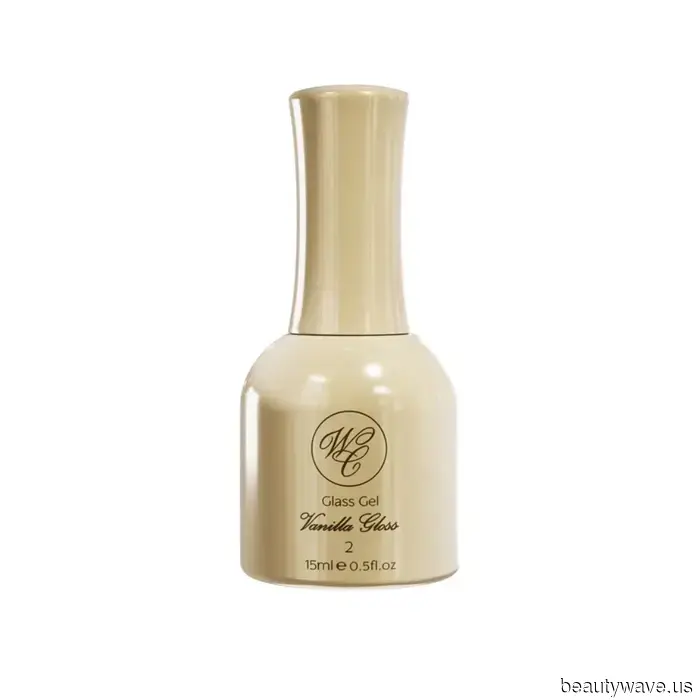
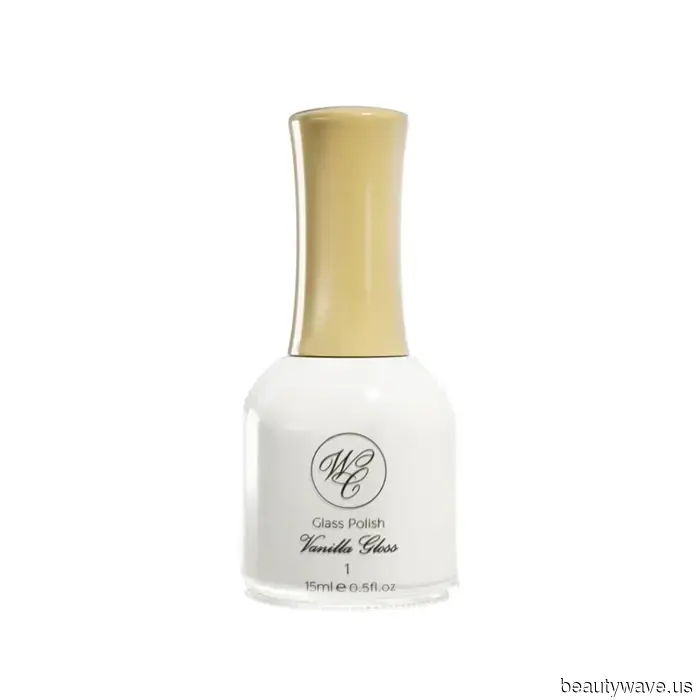
To create a milky manicure, after prepping your nails, begin by applying the Westmoreland Cosmetics Glass Base Coat (£20), followed by the Glass Gel (£25) in either shade 1 or 2, both of which complement all skin tones. Shade 1 offers a slightly milkier appearance, while Shade 2 has a hint of pink, yet remains milky. Both shades have a lovely sheer finish. If you are using nail polish instead of gel, be aware that polish dries more quickly; therefore, apply it swiftly to prevent any dragging. For gel polish, cure it and then use acetone to wipe away the sticky layer.
For the nail art, I recommend painting each individual leaf of the flower one at a time with a fine nail-art brush. Then, I use a dotting tool to create a small dot in the center of the leaves to represent the flower's heart. I approach this intuitively, assessing the nail's size and shape to build the design around it. I typically prefer to create just one small flower unless the client requests otherwise; I find that a single flower feels more balanced and less cluttered.
The primary technical challenge is arranging the petals appropriately, but once you place the dots on top, everything comes together neatly, so trust the process! If your nails are short, a small flower in the center works perfectly when space is limited for nail art. Don’t stress about achieving perfection; they can have a bit of a messy look, and the petals can vary in size. Personally, I believe simple flowers tend to look best. I usually opt for cute, cartoon-like flowers, which my clients adore. Pastel shades—such as yellows, greens, blues, and pinks—work wonderfully for floral nail art.
To complete the manicure, seal it with a top coat. After curing, scrub your nails with soap and a nail brush to clean them, smooth surrounding skin, and provide an effortless way to enhance your manicure while caring for your nails for a polished, luxurious look.
Shop the Look:
- Westmoreland Cosmetics Glass Gel Vanilla Gloss 1
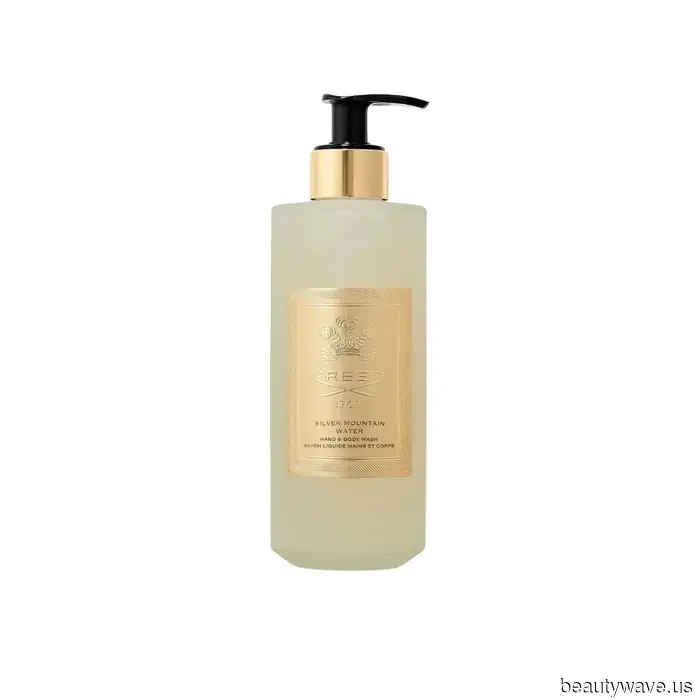
- CREED Silver Mountain Water Hand and Body Wash
- Westmoreland Cosmetics Glass Gel Vanilla Gloss 2
- Dr. Barbara Sturm Medium Body Brush
- Westmoreland Cosmetics Glass Polish Vanilla Gloss 1
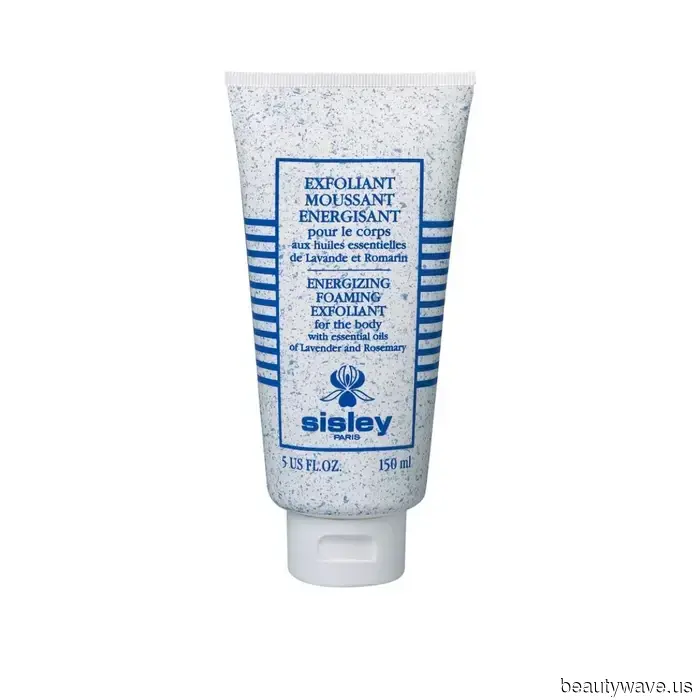
- Sisley Energizing Foaming Exfoliant
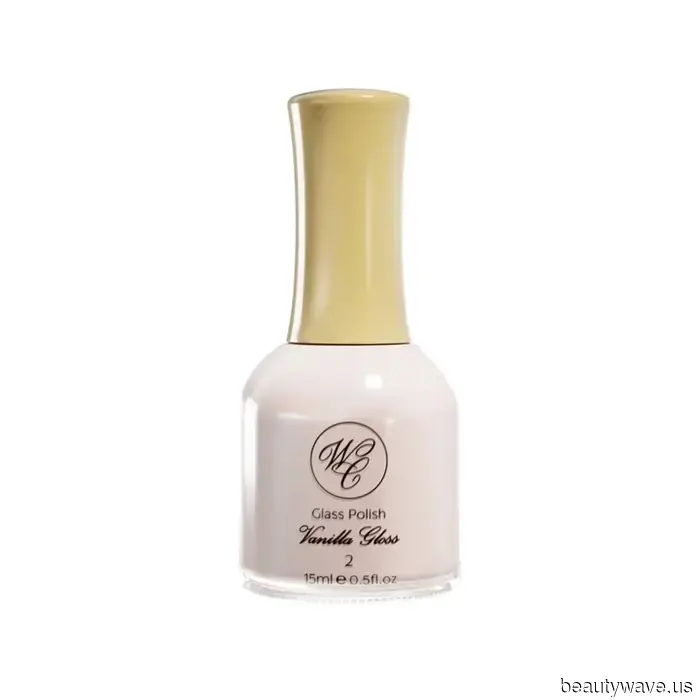
- Westmoreland Cosmetics Glass Polish Vanilla Gloss 2

Other articles
 I Ignore Fashion Rules—Here’s How I Perfected the Technique of the "Slightly…
Stylist and founder of La Veste Blanca, Miro Scrimieri, reveals the style tips that define her signature look. Click to learn more.
I Ignore Fashion Rules—Here’s How I Perfected the Technique of the "Slightly…
Stylist and founder of La Veste Blanca, Miro Scrimieri, reveals the style tips that define her signature look. Click to learn more.
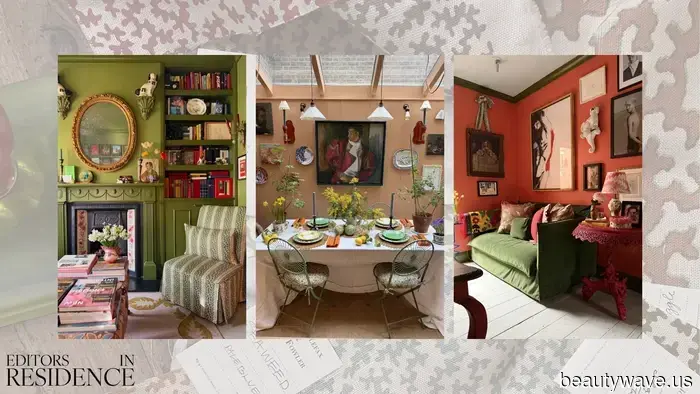
 I'm a Serial Redecorator — Everything You Should Consider Before Beginning a Renovation
Max Hurd, the Editor in Residence at Who What Wear UK, shares his best tips for home renovation in 2026.
I'm a Serial Redecorator — Everything You Should Consider Before Beginning a Renovation
Max Hurd, the Editor in Residence at Who What Wear UK, shares his best tips for home renovation in 2026.
 I'm Crazy About Jeans, But These 33 Stylish Skirts Are Making Me Rethink My Spring Outfits.
From satin skirts with lace trims to low-rise styles, we're showcasing the most stylish skirts for spring 2026.
I'm Crazy About Jeans, But These 33 Stylish Skirts Are Making Me Rethink My Spring Outfits.
From satin skirts with lace trims to low-rise styles, we're showcasing the most stylish skirts for spring 2026.
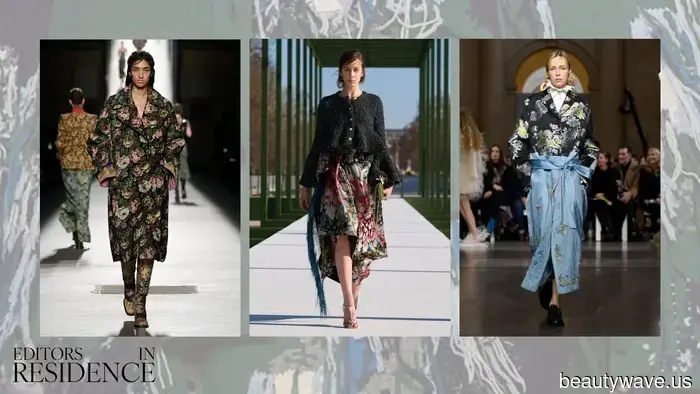 We are living in Clearly Unromantic Times—Here’s How I’m Creating a Dreamy Wardrobe.
According to Monica Ainley, Editor in Residence at Who What Wear UK, we are currently living in rather unromantic times, making it the perfect moment to introduce a feeling of escapism into your wardrobe.
We are living in Clearly Unromantic Times—Here’s How I’m Creating a Dreamy Wardrobe.
According to Monica Ainley, Editor in Residence at Who What Wear UK, we are currently living in rather unromantic times, making it the perfect moment to introduce a feeling of escapism into your wardrobe.
 I'm a Serial Redecorator—Everything You Should Consider Before Beginning a Renovation.
Max Hurd, the Editor in Residence at Who What Wear UK, shares his best tips for home renovations in 2026.
I'm a Serial Redecorator—Everything You Should Consider Before Beginning a Renovation.
Max Hurd, the Editor in Residence at Who What Wear UK, shares his best tips for home renovations in 2026.
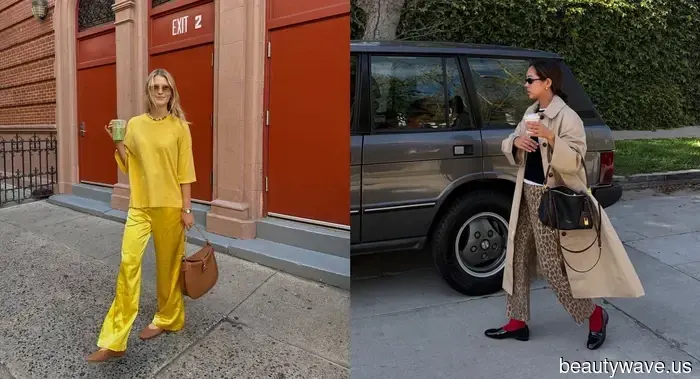 All the Trendy L.A. Girls Are Sporting These 5 Spring Shoe Trends for Their Matcha Latte Errands.
If you're embracing your matcha phase, take a look at five spring shoe trends that the stylish girls in L.A. are sporting while picking up their trendy drink.
All the Trendy L.A. Girls Are Sporting These 5 Spring Shoe Trends for Their Matcha Latte Errands.
If you're embracing your matcha phase, take a look at five spring shoe trends that the stylish girls in L.A. are sporting while picking up their trendy drink.
Take Note: "Milky Floral" Nail Art Is the Key Spring Nail Trend to Watch.
Nail art at its best.